Installing the curtain rod brackets correctly is an important step in ensuring that your curtains will hang correctly and provide the interior design look you are looking for. There are mainly two types of rods that will fit into the brackets of curtain rod: simple, non-mechanical rods and cross rods with cord control that require curtains to be hung via curtain hooks. It is important to note that the heavier the fabric; for example, curtains more longer ones made of a heavier material, the more important it becomes to have your curtain rods more securely set in the drywall.
Step 1 - Locating the StudsThe first step in the process of installing curtain rod brackets is to locate the studs that have been used to frame the window or door that is to be covered with the curtain. This can be done via an electronic stud finder. You need to also accurately mark the boundaries that have been set with the stud finder, as measurement is of paramount importance here.
Step 2 - Drilling the First Rod HolderTake one of the rod brackets and place it against the wall in the area that has been marked with the stud finder; mark the final position of the bracket. Using an electric drill fitted with a Philips bit , screw the bracket to the wall.
Step 3 - Drilling the Second Rod HolderUsing the tape measure, note the position on the first bracket relative to the door or window, and use it to drill the second bracket with the electric drill on the other side of the wall to the corresponding height .You have to be very careful at this step, because even an inch difference can spoil the overall look.A laser level can help you choose the right location to screw the second bracket.
Moisten the suction cup of the laser level and stick it on the wall next to the first bracket; shine the laser light on the wall and adjust until the line is level. Mark the location of the second bracket at the height indicated by the laser line. Make sure it is at the correct width as previously indicated by the stud finder.
Step 4 - The Center SupportThis step is for installing a third bracket for better support to the curtain rod. This is especially necessary for heavier curtains, as the rod could break if you regularly use bulky curtains. To install a third bracket, measure the distance between the first two supports and divide it in half. Mark this spot and use an electric stud finder to locate a stud in this area. Drill another rod support in this very spot. make sure the bracket is aligned with the other two.
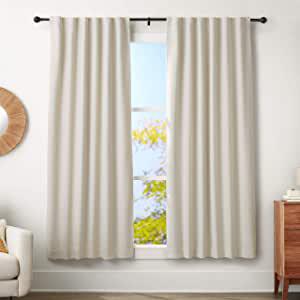
Step 5 - Insert RodThe cross rod should be slid into the brackets until a "click" is heard. The pull cord should be able to hang down. The curtains should be hung from the rod starting with the main bracket in the middle, with drapery hooks inserted into the pleated areas of the curtains.
Hanging curtain rod brackets in drywall is usually not a difficult job; however, it can be tricky if you don't take precise measurements, find the dowels, and be sure to drill holes in the places that ensure that the stem will be level.

